Last updated: October 23, 2026
In precision CNC machining, deburring and chamfering are critical finishing operations that determine product aesthetics, operational safety, and assembly accuracy. However, removing burrs from complex 3D surfaces using manual methods or traditional CAM toolpaths is often labor-intensive, time-consuming, and prone to human error.
The Mastercam Deburr toolpath was introduced as a game-changing solution. It allows programmers to automatically detect sharp edges and generate precise chamfering toolpaths across 3-axis to simultaneous 5-axis CNC machines. This feature not only reduces programming time by up to 80%, but also maximizes tool life and ensures consistent product quality.
What Is the Mastercam Deburr Toolpath and Why Is It Important?
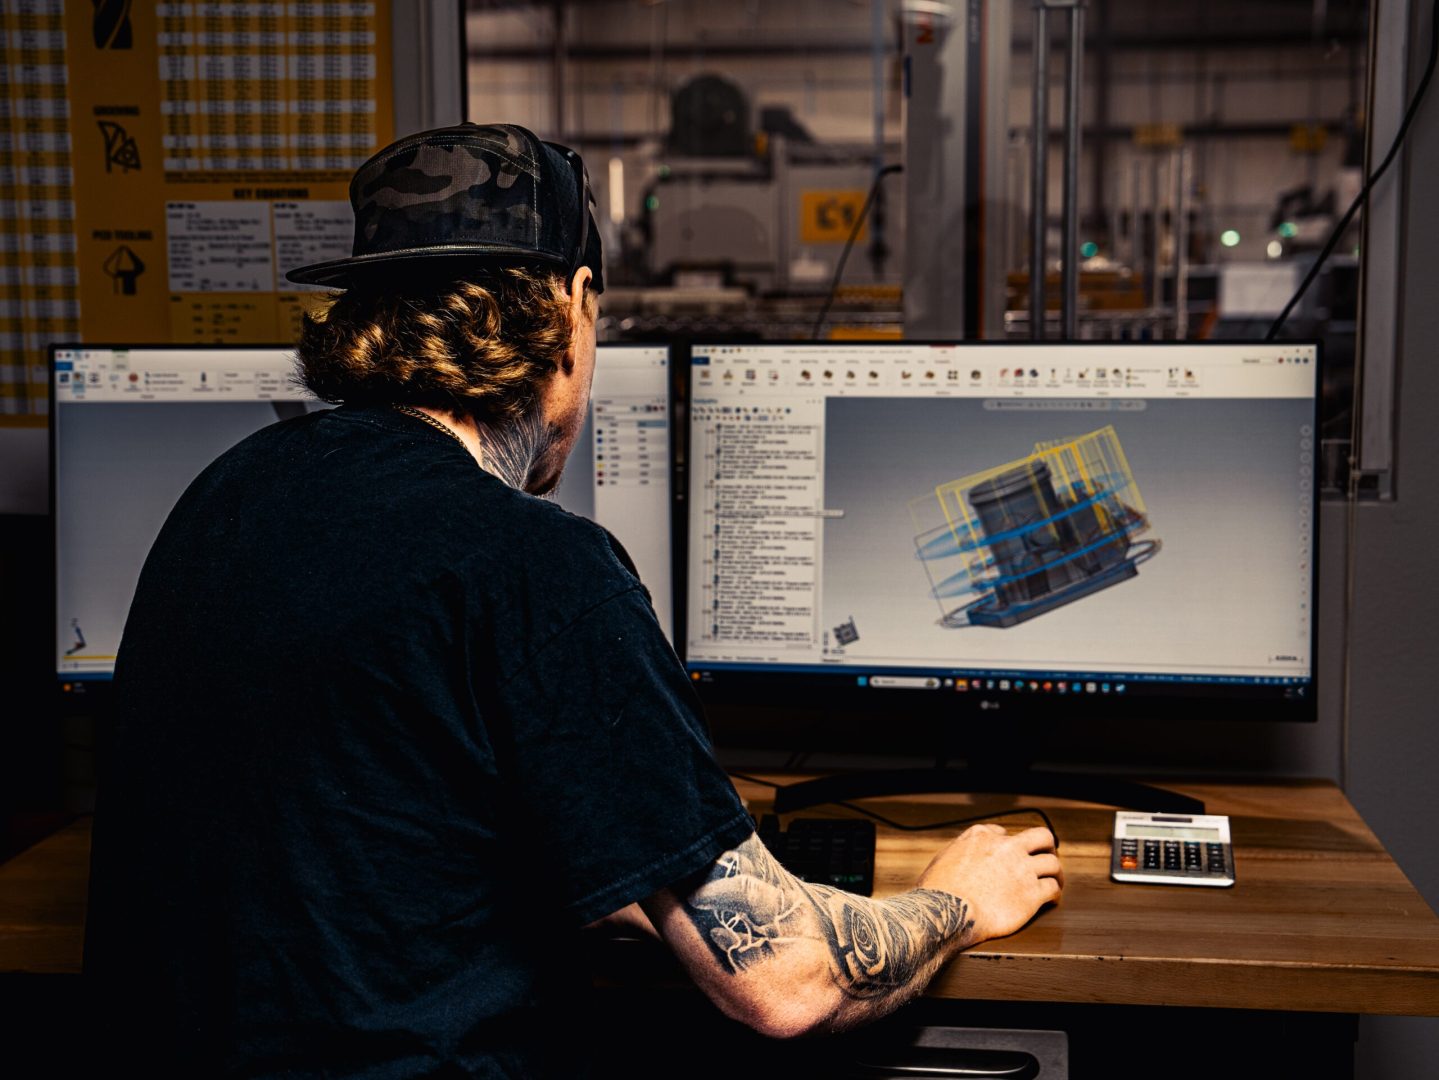
The Mastercam Deburr toolpath is an intelligent multiaxis toolpath designed to automatically detect sharp edges and surface intersections on complex 3D CAD models. Unlike traditional 2D machining functions that require manual edge selection (chaining), this automated toolpath scans the entire part geometry to calculate the most optimal cutting path.
For modern machine shops, adopting this feature solves the persistent challenge of deburring complex parts. As part of multiaxis machining in Mastercam, it offers exceptional flexibility in tool axis control.
When machining aerospace, medical, or mold components, manually selecting hundreds of 3D curved edges is tedious and risky. With Deburr, programmers simply define the Part Geometry and select an appropriate cutting tool. The system automatically calculates optimal tool tilt angles to create uniform edge breaks while preventing collisions with fixtures and neighboring surfaces.
Furthermore, the latest Mastercam deburr enhancements deliver superior calculation performance. You can explore additional technical details in the Mastercam Multiaxis Documentation to understand this advanced multiaxis architecture.
Comparing Mastercam Deburr Toolpath with Traditional Chamfering Methods
To highlight its technical and economic advantages, let’s compare the automated Deburr toolpath against manual edge finishing and legacy 2D/3D CAM strategies. The detailed comparison table below illustrates its productivity gains and automated safety controls:
| Comparison Criteria | 2D Chamfer / Contour | 3D Curve / Project Contour | Mastercam Deburr Toolpath |
|---|---|---|---|
| Geometry Selection | Manual selection of flat 2D edges | Manual chaining of 3D curves | Automated detection of all 3D sharp edges |
| Supported Axis Motion | 3-Axis only (fixed Z orientation) | Basic 3-Axis or 4-Axis | 3-Axis, 4-Axis, up to simultaneous 5-Axis |
| Gouge & Collision Checking | Relies on manual visual check | Complex manual setup required | Automated avoidance for part, fixture, and shank |
| Supported Tool Types | Chamfer Mill, limited Ball Mill | Ball Mill, Chamfer Mill | Chamfer, Ball, Lollipop, Disc/T-slot Cutters |
| Programming Time (Complex Parts) | Very slow (hundreds of edges) | Moderate to slow | Extremely fast (a few clicks) |
| 3D Chamfer Uniformity | Impossible on 3D curves | Difficult to control width | Consistent, perfect chamfer depth on 3D shapes |
Using conventional 2D Contour or Chamfer toolpaths requires hours of manual geometry chaining. If the CAD model undergoes design changes, re-chaining these entities becomes a tedious nightmare for CAM engineers.
In contrast, automated edge detection minimizes setup time. The toolpath dynamically updates whenever the 3D model changes, eliminating human errors during geometry selection.
Optimal Cutting Tools for Deburring Operations
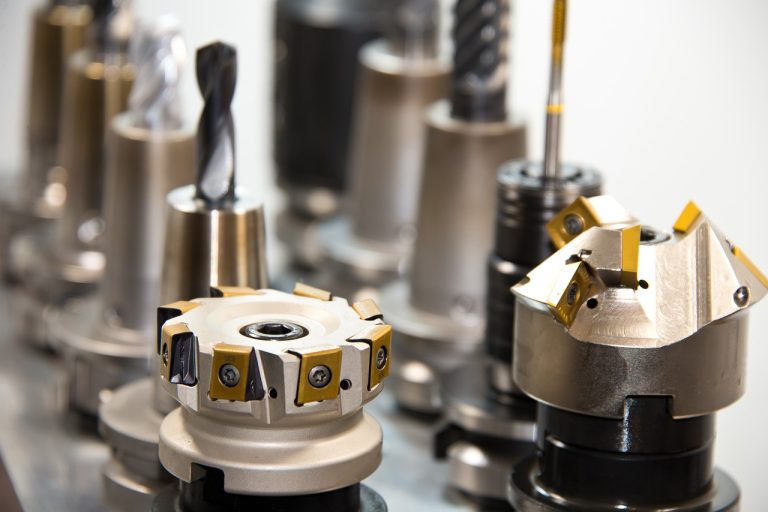
The versatility of the automated deburring feature shines through its broad tool compatibility. Depending on chamfer angles, workspace constraints, and part features, engineers can choose from several specialized tool types:
- Chamfer Mills: The most common tool for flat chamfers or fixed angles on 3D surfaces. Requires open space to avoid shank collisions.
- Ball End Mills: Highly effective for deburring complex 3D curved edges or small radius edge breaks. Ball mills allow continuous shift of the contact point, yielding superior surface finish.
- Lollipop Cutters (Spherical Cutters): Ideal for undercut areas, deep cavities, or bottom edges inaccessible to straight tools. The spherical profile enables flexible tilting in 5-axis machining.
- Disc / T-Slot Cutters: Used for chamfering bottom edges of pockets or narrow grooves where standard cylindrical tools cannot fit.
- Form & Dovetail Tools: Support custom chamfer profiles requiring specific radii or non-standard angles on intricate mechanical parts.
Selecting the correct tool geometry ensures both cut quality and tool longevity. For example, when deburring narrow pocket walls, a Lollipop cutter combined with 5-axis motion minimizes tool holder interference against wall surfaces.
5 Steps to Program Mastercam Deburr Toolpath Professionally
To streamline programming and guarantee safe execution on your CNC machine, CAM engineers should follow this standard 5-step workflow:
Step 1: Select the 3D Part Geometry and Avoidance Surfaces
First, open the Deburr toolpath parameters and select the 3D solid model as the Part Geometry. The algorithm will automatically scan and evaluate all sharp edges on the model.
If there are workholding clamps, fixtures, or surfaces that must not contact the tool, define them under Avoidance Surfaces. Mastercam’s algorithm uses these references to automatically recalculate collision-free clearance paths.
Step 2: Set Tool Parameters and Chamfer Dimensions
Select a suitable tool from your library (e.g., a 6mm Lollipop cutter or a 45-degree Chamfer Mill). Under Cut Parameters, specify the target Chamfer Width or Cut Depth.
The system lets you define chamfers by dimension (such as 0.5mm x 45°) or edge rounding radius. These parameters are intuitive to configure and easy to adjust whenever engineering specs change.
Step 3: Configure Tool Axis Control (3-Axis, 4-Axis, or 5-Axis)
Based on your shop floor’s CNC machine setup, select the appropriate motion control mode in Tool Axis Control:
- 3-Axis: Keeps the tool axis parallel to the Z-axis, perfect for standard 3-axis mills. The toolpath follows 3D edges while maintaining a fixed orientation.
- 4-Axis: Tilts the tool along a rotary axis (A, B, or C) for cylindrical parts, crankshafts, or revolved features.
- 5-Axis: Dynamically tilts the tool in multiaxis directions to maintain optimal contact angles and prevent shank collisions in deep cavities.
Step 4: Configure Edge Detection and Edge Offset
The Edge Detection page allows programmers to filter or extend edges designated for deburring. You can exclude edges with angles above or below specific thresholds (e.g., ignoring shallow angles below 15 degrees or pre-filleted edges).
Additionally, adjusting the Edge Offset parameter shifts the cutting point along the tool flutes. This avoids cutting at the tool tip (where surface speed is zero), improving edge quality and extending tool life.
Step 5: Verify Collision Control and Gouge Checking
Under Collision Control, activate automatic gouge checking for the Tool Shank, Holder, and Flute. Mastercam calculates intelligent collision avoidance strategies automatically.
Avoidance strategies include tilting the tool away from the part, retracting along the Z-axis, or skipping unmachinable edges. This eliminates real-world risks where Mastercam Verify shows OK but a collision occurs on the physical CNC machine. For further details on collision control setup, check the Mastercam Technical Support Center.
Advanced Configurations and Parameters in Deburr Programming
To master the Mastercam Deburr toolpath, understanding advanced parameter pages helps engineers tackle the most demanding machining challenges:
1. Advanced Tool Axis Control
In 5-axis mode, you can define tilt limits such as Max Tilt Angle or Preferred Tilt Angle. This configuration prevents sudden rotary axis flips on the CNC machine, producing smoother machine motion and preventing dwell marks on the part surface.
2. Smooth Entry/Exit Linkings
Abrupt plunge moves can chip cutting edges or leave dwell marks. The Linkings settings enable soft 3D arc lead-in and lead-out moves. You can configure clearance distances relative to planes or a bounding sphere surrounding the part.
3. Min/Max Chamfer Limits and Automatic Edge Filtering
When working with castings or forgings with uneven stock allowances, setting min/max chamfer limits helps the toolpath adjust cut depth dynamically. As a result, the chamfer width remains consistent despite raw material variations.
Real-World Applications of Mastercam Deburr Toolpath Across Industries
Thanks to its versatility and precision, automated deburring is widely adopted across high-tech manufacturing sectors:
Aerospace Industry
Structural airframes, blisks, and gearbox housings contain thousands of complex 3D curved edges made from tough materials like Titanium and Inconel. Using the Deburr toolpath ensures precise edge breaks while adhering to strict aerospace quality standards.
Mold & Die Industry
In mold cavity and core machining, burrs along parting lines adversely affect plastic injection or die-cast parts. Simultaneous 5-axis deburring cleans hard-to-reach internal corners without distorting critical mold geometry.
Medical Devices and Precision Components
Medical implants, bone plates, and surgical instruments require silky-smooth surface finishes free of sharp burrs. Automated chamfering guarantees every edge is consistently rounded or chamfered within tight tolerances.
Crucial Technical Tips to Optimize Your Deburr Toolpath
To achieve mirror-finish surface quality and prolong tool life, machine operators and programmers should consider these key technical tips:
- Control Rotary Axis Tilt Limits: When running 5-axis toolpaths, set maximum tilt angle limits to prevent rapid rotary adjustments that cause machine chatter or surface flaws.
- Optimize Lead In/Out Transitions: Use arc feed entry moves combined with proper safety clearance distances to prevent entry marks on finished surfaces.
- Feedrate Optimization: When navigating tight corners, the cutting speed varies significantly between tool center and tool edge. Enable automatic feedrate reduction on internal corners to protect fragile cutting flutes.
- Surface Tolerance Control: Ensure machining tolerances align with technical drawing specs, complying with international standards like ISO Geometrical Product Specifications.
Partnering with Solid & Soft for Mastercam Solutions
Mastering the Mastercam Deburr toolpath enables modern machine shops to automate finishing operations, replacing manual deburring with repeatable CNC performance. This transition ensures part consistency, lowers labor costs, and shortens production lead times.
Solid & Soft is an authorized Mastercam reseller. Our experienced application engineering team is ready to provide solution consulting, technology transfer, and advanced CAM training for manufacturing businesses nationwide.